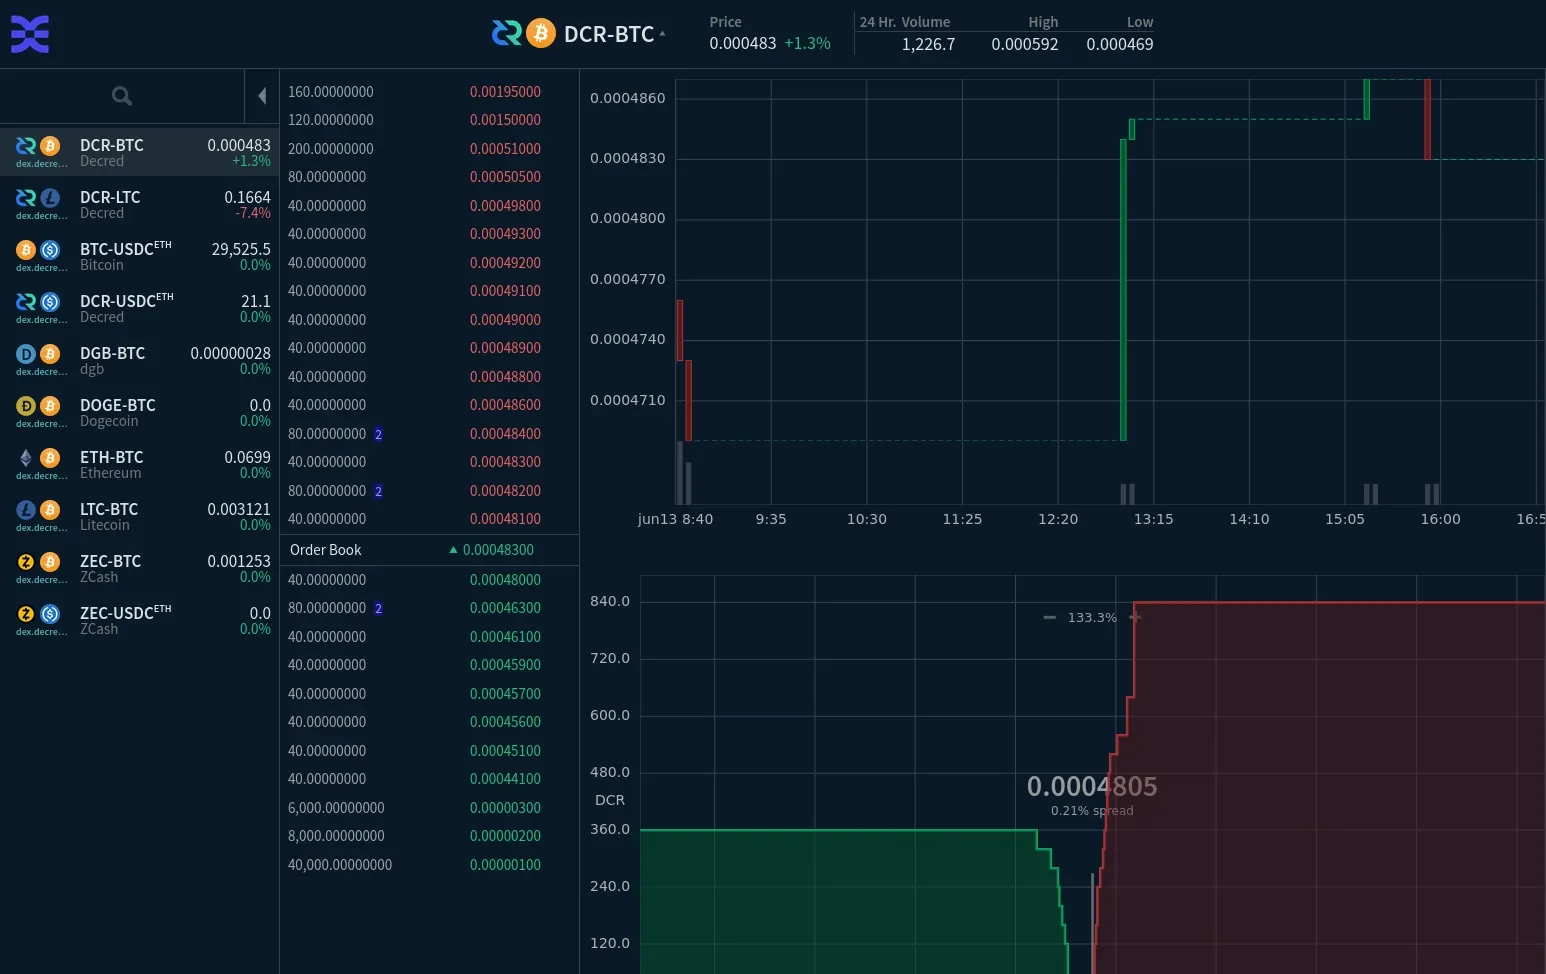
This tutorial explains how to install Decred DEX on your Raspberry Pi. We will use Umbrel as operating system to run the full custodial, atomic swap powered DEX.
Introduction
In this tutorial I will show you how to get DCRDEX running on your Raspberry Pi. We use Umbrel OS as a base which provides a comfortable solution as a home server for self-hosting. Umbrel has an entire app store, however some apps are not made available in the public app store and therefore have to be installed manually.
In the following I will guide you through the complete installation, from setting up the Raspberry Pi OS on the SD card to installing Umbrel and integrating the DCRDEX.
Requirements
Raspberry Pi 4
Storage Drive
Drive Enclosure
16GB+ micro SD
Power Supply
Ethernet Cable
Step 1: Download Raspberry Pi OS and install on SDcard

Variant A: Automatic installation and setup on SD card
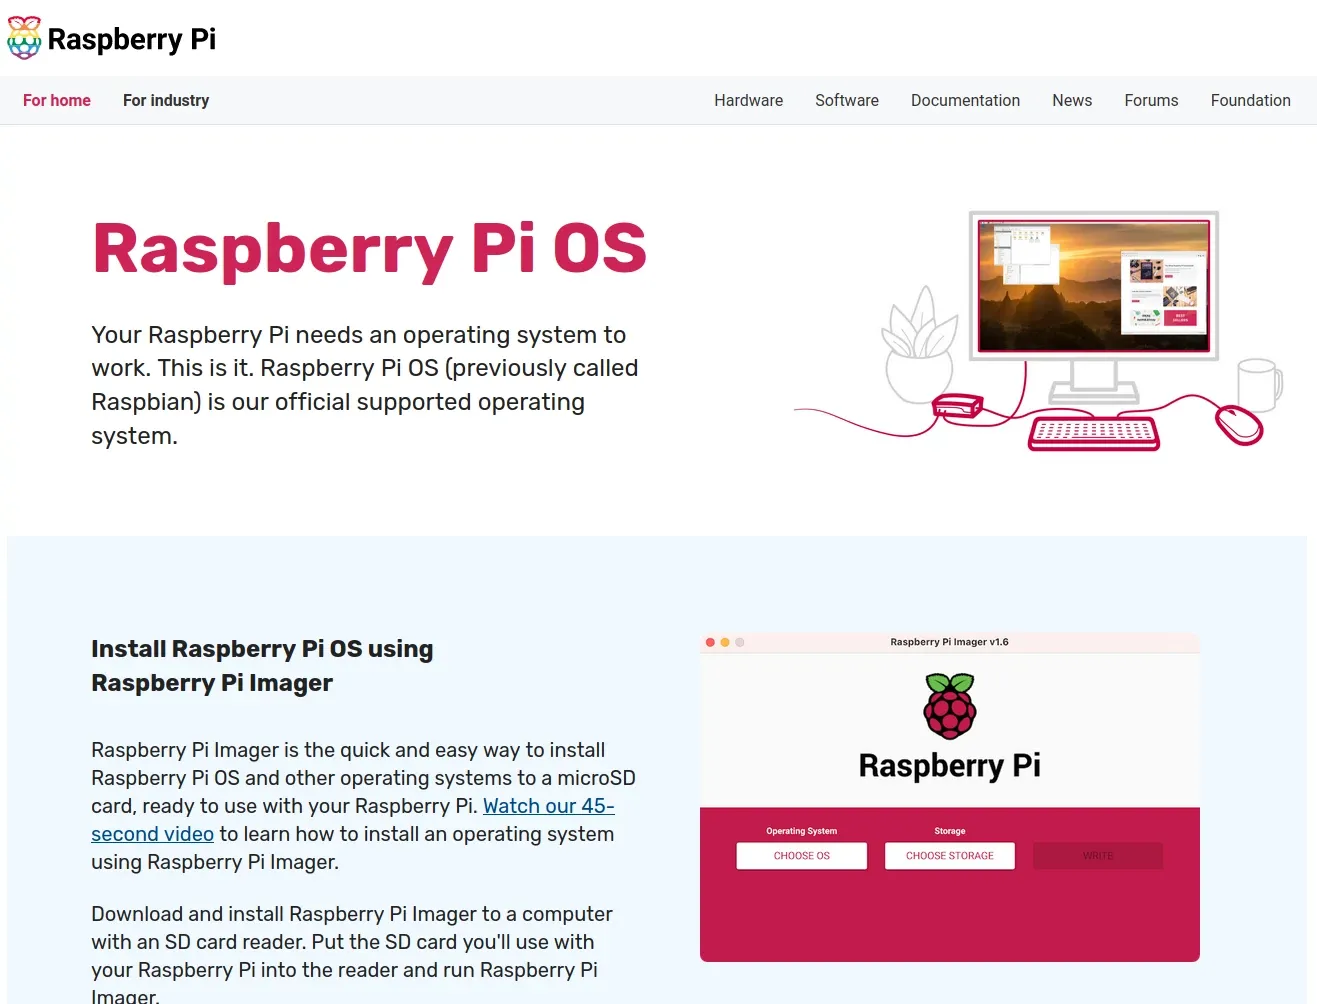
First of all, we need to install the Raspberry Pi OS on the SD card. For this, the official Raspberry Pi website offers a convenient solution, the Raspberry Pi Imager.
https://www.raspberrypi.com/software/
During the setup in the Raspberry Pi Imager you have to use the Advanced options to enable SSH and create a user.
Variant B: Manual Installation on SD card
However, in the following I will discuss a manual setup where we access the operating system headless via SSH shell. To do this, we need to download the image of the operating system and then install it on the SD card.
You have to Download Raspberry Pi OS Lite-64-bit which you can find on the following website:
https://www.raspberrypi.com/software/operating-systems/
After the download is complete we need to unpack the downloaded archive:
unxz 2023-02-21-raspios-bullseye-arm64-lite.img.xzBurn the Image onto the SD Card
Extreme caution is required when installing the operating system on the SD card via the command line. You have to identify the drive of your SD card unambiguously, otherwise you can load the wrong drive with the operating system, which can lead to data loss.
In our example the SD card was identified under /dev/sdb. Please adjust your SD card path, you can identify the SD card with the command sudo fdisk -l or with the graphical tool gparted.
To install the downloaded Raspberry Pi OS image to the SD card use the following command (replace /dev/sdb with the correct path of your SD card!):
sudo dd if=2023-02-21-raspios-bullseye-arm64-lite.img of=/dev/sdb bs=4M conv=fsync status=progressEnable SSH shell headless access
After the operating system image has been copied to the SD card, you can remove the SD card from your computer and then reinsert it. Now the SD card should be detected automatically.
To access the Raspberry Pi from another computer we need to configure the SSH shell and create a user. For this purpose, small text documents are placed on the boot partition of the SD card to enable SSH access.
Enable SSH Server
Change to the boot partition of the SD card and put a file with the title ssh in the root directory to enable the SSH server:
cd /media/user/bootfs
touch ssh
Create SSH User with an encrypted password
Afterwards, a user must be created for SSH access. To do this, the user name in combination with an encrypted password must be placed in a text document with the title userconf in the root directory of the boot partition of your SD card.
Create encrypted password:
echo 'yourpassword' | openssl passwd -6 -stdinCopy the encrypted string of your password. Now create a textfile with the title userconf and put your username:encryptedpassword into it.
echo 'username:encryptedpassword' >> userconfOptionally enable WiFi connection
If you want to connect your Raspberry Pi to the internet with WiFi instead of a lan cable you can configure your WiFi connection. For this you have to create a file with the title wpa_supplicant.conf in the root directory of the boot partition.
You can use your favorite text editor to create that file. Copy the following lines into it and replace the variables with your WiFi SSID and password.
country=US
ctrl_interface=DIR=/var/run/wpa_supplicant GROUP=netdev
update_config=1
network={
  ssid="YOURSSID"
  scan_ssid=1
  psk="YOURPASSWORD"
  key_mgmt=WPA-PSK
}
Step 2: Install Umbrel

The preparation of your SD card is now complete. You can now insert the SD card into your Raspberry Pi and start it for the first time.
After that we have to log into the command line. For this we need the local IP address of the Raspberry Pi. You may be able to find this out in the user interface of your router. The following commands will help you to identify the IP address of your Raspberry Pi.
To find out the IP Address of your Raspberry on Windows, MacOS or Linux try:
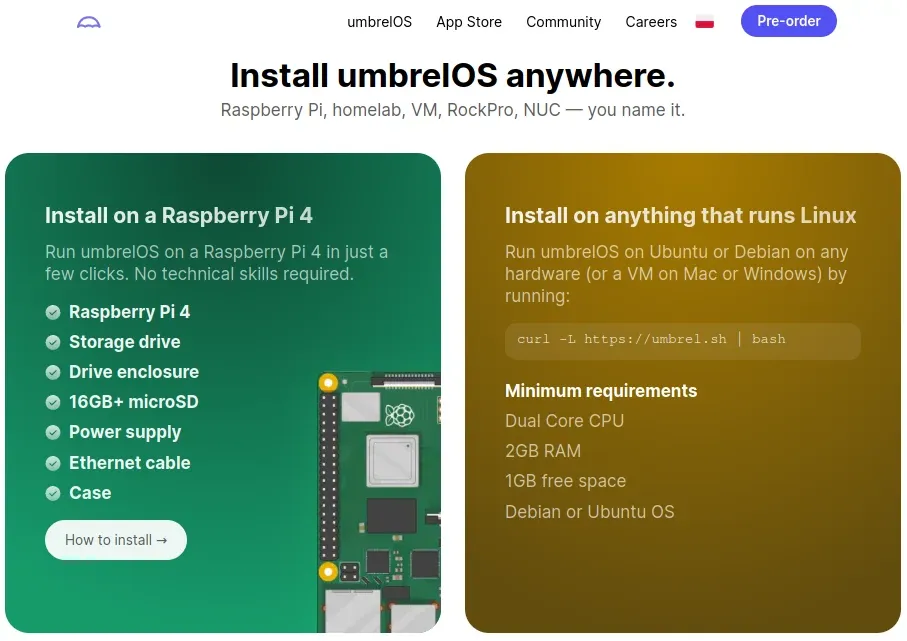
arp -aNow we need to connect to the SSH console of the Raspberry Pi to run the command to install Umbrel — The ultimate home server and OS for self-hosting. Use the correct IP and username.
ssh username@192.168.1.XXX
curl -L https://umbrel.sh | bash
If you want to store the Umbrel installation on an external hard drive you will have to ensure that the disk is automatically mounted into your system on boot by giving it an entry into your /etc/fstab. Now you can give the install script a parameter to use that mount point as path for the installation via:
curl -L umbrel.sh | bash --install-path /mnt/usb/The installation of Umbrel is fully automatic. After the installation is finished we can restart the Raspberry Pi.
sudo reboot -nNow we check the correct installation of Umbrel by accessing the IP of the Raspberry Pi via the web browser for the first time. At the first access you will be asked to create a user for your Umbrel installation.
Step 3: Install DCRDEX via SSH console

To use Decred's App store for Umbrel (GitHub - decred/umbrel-app-store) we will log in via the SSH console and execute the following commands to install DCRDEX.
ssh username@192.168.1.XXX
sudo ~/umbrel/scripts/repo add https://github.com/decred/umbrel-app-store
sudo ~/umbrel/scripts/repo update
sudo ~/umbrel/scripts app install decred-dcrdex
The installation of the DCRDEX is now complete. You can now log in to your Umbrel with the web browser and the DCRDEX is now available at your installed apps.
Using DCRDEX for the first time
The first time you launch DCRDEX, you will be prompted to enter an app password for the Dex.
Fidelity Bond Deposit
After that you can select the Decred Dex server. Now you will be asked to choose a currency in which you want to deposit a fidelity bond for your account on the server. The bond is currently payable in BTC or DCR.
A fidelity bond must be deposited to prevent incorrect behavior of users. It prevents order book spam or the deliberate cancellation of executed trades during settling. If there are continuous penalties for unfair behavior you will lose the bond.
The bond will be locked for a certain period of time. After that the deposited coins will be available again if you decide to stop using the account.
After you have selected the currency in which you want to deposit the fidelity bond, the corresponding wallet will be created for you. This includes the synchronization of the respective blockchain and the confirmations required for the deposit to your wallet.
Depending on the speed of your Internet connection, synchronization may take more time. You can track the status on the screen. After the 99.9% status the downloaded blockchain will be scanned on your computer for existing coins and transactions. Depending on the speed of your system this can take a while, be patient.
After you accepted to pay the fidelity bond your account is ready to trade.
Backup your application seed
After you have successfully set up your account, you should create a backup of your app seed.
In the top right menu go to Settings and click View Application Seed
With this seed you can access all coins in the different wallets again at a later point in time on a new installation. Keep this seed in a safe place, print it out and do not save it on your computer or smartphone.
Integrated native Multi-Coin Wallet
For each coin you want to trade, you must first create a wallet. The synchronization of the respective blockchain always takes some time.
The following Coins are natively supported and have fully integrated wallets: BTC, DCR, LTC, BCH
The following Coins either do not support SPV lightweight block filters or are currently only integrated via external full nodes via RPC or 3rd party api providers:
Doge, ZEC, ETH, USDC(ETH), DGB


Comments ()