

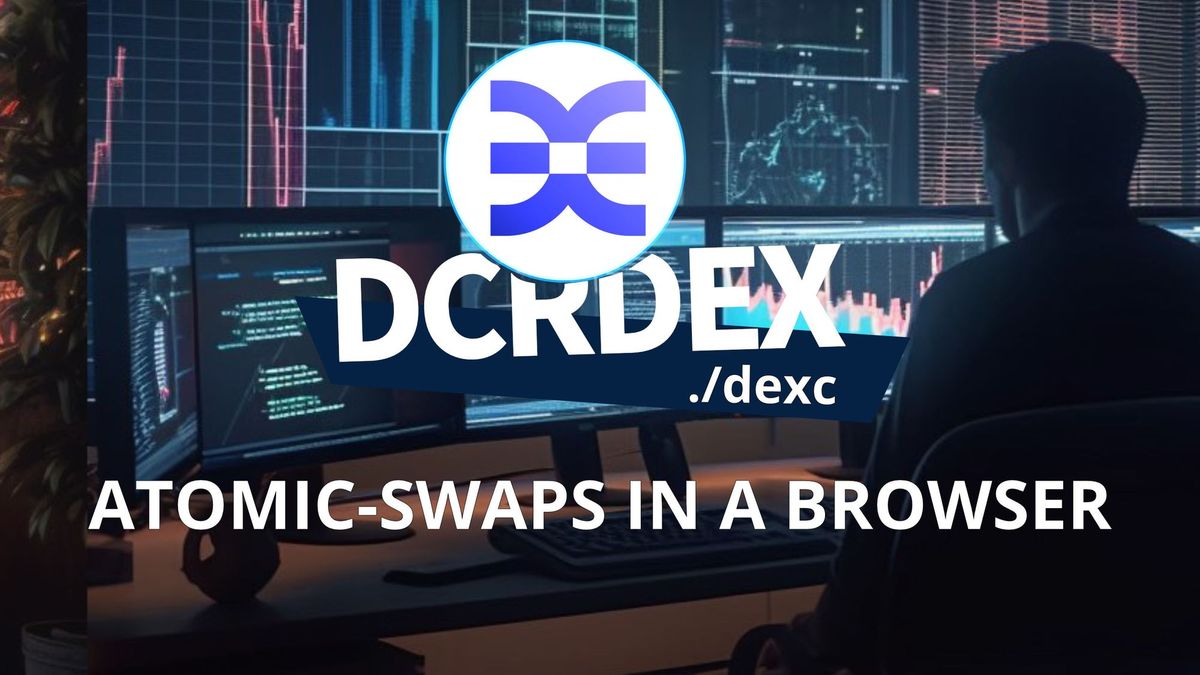
Decred Dex Standalone: Atomic-Swaps in a Web Browser
One major benefits of running Decred Dex Standalone is you don’t need additional software, and it runs in a web browser
- DCRDEX + Decrediton - Full node wallet with exchange
- Solutions for crypto community - Simpler + quicker
- dexc standalone package - Setup + start trading within 30mins
- dexc benefits - No additional software + runs in web browser
- dexc drawbacks - Minimal knowledge of terminal
- Getting started - P2P trading with dexc
Until now, we’ve looked at running DCRDEX using Decrediton, which is great and probably the best option for Decred users. But for those not in the Decred community or holders of DCR, there are other options which could be better and a lot quicker to set up. The option we’ll look at here is called dexc and is a standalone package. From start to finish, on average, it’s possible to have dexc setup, running and completing your first trade in under 30 mins.
One of the main benefits of dexc is you don’t need to instal Decrediton, and the software is built to run in the browser. The downside, for those not overly technical, is the software initiates from the terminal and the terminal needs to be left running until all trades are fully settled or cancelled.
Walk through of how to set up dexc, ready for our first trade.
Download and extract
From the dex.decred.org website, scroll down and click on the packages link. You’ll also need to click on the “releases” menu icon and scroll down to assets to get the latest version. In this case, I’m using macOS, so I’ll download the Darwin link at the top. Once complete, drag the download to the desktop and double click to extract. The extracted folder should then be placed in the document's folder.
Open terminal from folder
Select this folder and then right-click to view the menu. Click on the “New Terminal at Folder” option. This will open the terminal, as said before, the terminal must be left open until all trades are full settles or cancelled.
Enter the command ./dexc and press enter
On macOS, you might get a warning. If you are happy to instal this software you can head over to your “settings”, “security and privacy” options, select the “general” tab and click the option to “Allow Anyway”. Once this is done, go back to the terminal and type the ./dexc command again and press enter. To confirm you are happy to instal this program, press the “open” button on the popup and dexc will start installing.
Dexc should install relatively quickly. Once finished, you’ll get a link to run in your browser, this is the localhost address for your computer. As a side note, ctrl+c will quit the application in the terminal. For this reason, we’ll right-click on the link and copy. To restart dexc, type the same command as before ./dexc, and the program will start again.

Work through setup steps
- Copy the address into your browser and press enter
- On this first page, we can enter a new password to start the installation, or we can restore an existing version by clicking on the “Restore from seed” button and entering the seed. In this case, we’ll create a new password, confirm the password and then press the “submit” button.
- Pick a server, currently, there is only one.
- We need to select how we want to pay our fidelity bond, currently either btc or dcr. I’ll choose dcr.
- Create our dcr wallet, by pressing the create button. This will enable us to deposit the fidelity bond.
- On this page, two things are happening. Our new wallet is syncing to the decred blockchain, and we have a new address to deposit our fidelity bond to. Select the address and copy it.
- On another device, open a wallet with funds. In my case, I’ve opened my Decrediton wallet. Pasted the new address, entered the amount needed plus a little extra to cover mining fees. 4.1 dcr will be enough. Then press the send button to populate your new wallet with funds. Although you can add as much to this address as you like, I prefer to start with just the recommended amount and add more later once I’m set up.
- Once the wallet is synced and the funds become available, you’ll move onto the register page, which will confirm your setup and lock your fidelity bond, so you can start using DCRDEX. As a side note, if you wish to stop using the exchange, you can unlock the fidelity bond, and it gets returned to you. But note, this process takes up to 60 days to complete.
- While we wait for the 2 confirmations required for the fidelity bond to be locked, we’ll set up our Bitcoin BTC wallet and our Litecoin LTC wallet. This can be done by going to the wallets tab, selecting the “create a wallet” button, entering in our password then pressing the “create” button.
- The “native” wallets take no time at all to set up, but can take a little while to sync with the corresponding blockchains. DCR and BTC take approximately 5 mins. LTC needs a little help by entering in known peers. It’s also a good option to remove these once the sync is established. This helps peers be found more organically in the future.
- While we wait for our wallets to sync, it’s a good idea to back up your seed. This seed is for all of your native wallets, so keep it safe or risk losing your funds. Go to the hamburger menu, click settings, scroll down and select the “view application seed” button. Enter your password to reveal your seed. Write it down or use another method to keep a backup of this long string of characters. Once done, head back to the wallets page.
- In total, it took about 15 mins to set up DCRDEX from the dexc package. But the LTC wallet took a further 15 mins to become fully synced.
- To close dexc, first logout, using the hamburger menu and selecting “Sign out”. Then close the browser windows. And finally, in the terminal, hold down ctrl+c to exit the program. Close the terminal and you are done.
Terminal commands and links:
- ./decx – to open and instal for Mac and Linux
- Dexc.exe – to open and instal for windows
- dex.decred.org
- Litecoin known peers – https://gist.github.com/chappjc/d0f26b12258f8531bb78b37f38d080a0

Comments ()